
 Full Editorial
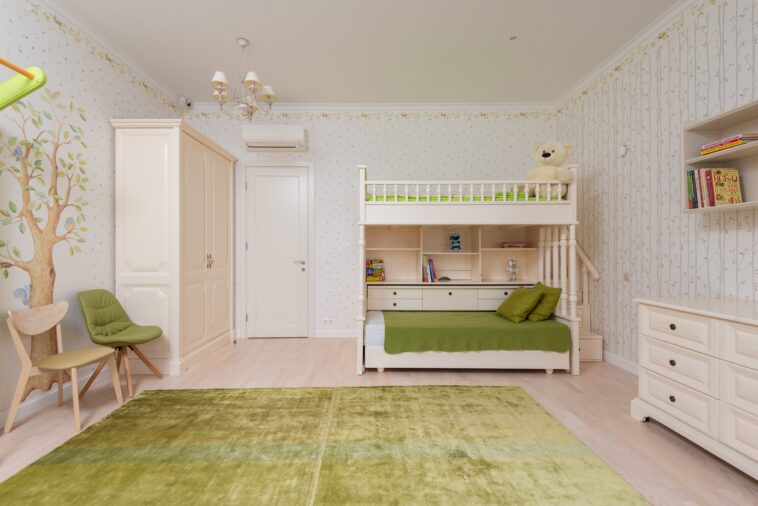
Kids grow up fast, and their tastes change even faster. One year they’re completely obsessed with dinosaurs, and the next, all they care about is space exploration or comic book superheroes. Trying to keep up with these shifting passions by purchasing brand-new bedroom furniture and matching accessories every few years quickly turns into a costly headache. Luckily, you don’t need to splurge on custom designer pieces to give your child a room they’ll love.
If you’re searching for a fun, durable, and budget-friendly way to refresh plain decor, water transfer printing offers an incredible solution. Also known as hydrographics or dip printing, this technique lets you apply complex, high-definition graphics to almost any three-dimensional object. Whether you want to revamp plastic drawer pulls, wooden picture frames, or metal lamp bases, dipping allows you to transform boring household items into personalized showpieces.
Why Water Transfer Printing Works Great for Kids’ Rooms
Children are notoriously rough on their belongings. Painted decor often chips, wall decals peel away over time, and basic stickers quickly leave behind sticky, dirty residue. One of the biggest advantages of hydrographic decorating is its durability. When properly prepped and sealed with a high-quality topcoat, a dipped design resists scratches, moisture, and daily wear and tear. You can wipe down the surfaces with a damp cloth without worrying about ruining the print.
Beyond durability, the sheer variety of designs makes it ideal for children’s spaces. You aren’t limited to basic solid colors or simple geometric stencils. You can find patterns ranging from vibrant galaxy swirls to intricate camouflage, animal prints, and playful cartoon motifs. It gives you the freedom to customize items down to the exact theme your child wants.
Best Bedroom Items to Customize
You don’t have to overhaul the entire room to make an impact. In fact, subtle custom touches often create the most cohesive look. Here are some of the easiest and most effective items to personalize using hydrographics:
- Light Switch and Outlet Covers: These small plastic plates are inexpensive and extremely easy to remove. Dipping them in a fun pattern adds a subtle pop of character to plain drywall.
- Cabinet Knobs and Drawer Pulls: Replacing or refinishing plain dresser hardware is a classic furniture hack. Customizing knobs with a pattern that matches the room’s theme instantly elevates an inexpensive nightstand or dresser.
- Desk Accessories and Organizers: Pencil holders, desk lamp bases, and plastic storage bins are perfect candidates. A cool design can make doing homework feel a little more inviting.
- Picture and Mirror Frames: Plain wooden or plastic frames can be dipped to frame artwork, family photos, or posters, tying the walls into the overall color scheme.
- Bed Frame Accents: If your child has a metal or wooden bed with removable decorative end caps, finials, or headboard inserts, dipping these pieces adds a tailor-made feel.
How the Personalization Process Works
While hydrographics might look like magic when you watch videos online, the basic concept relies on physics and chemistry. Here is how the process works from start to finish when transforming a decor item:
- Preparation and Sanding: First, clean the object thoroughly to remove grease, dust, or fingerprints. Lightly sand the surface so the base primer can bond securely.
- Base Coating: Apply an appropriate primer and a base coat of paint. The color of your base coat matters because hydrographic film is partially transparent; changing the base coat color alters the final look of the pattern.
- Prepping the Film: Cut the water-soluble film to fit your object, leaving a few extra inches on all sides. Lay the film carefully onto the surface of a tub or tank filled with warm water, ensuring no air bubbles get trapped underneath.
- Activation: After letting the film hydrate in the water for about a minute, spray it evenly with a chemical activator. This dissolves the polyvinyl alcohol backing and turns the printed ink into a floating liquid layer.
- Dipping the Object: Slowly submerge the object through the liquid pattern at a slight angle. The water pressure forces the liquid ink around every curve and contour of the item, wrapping it seamlessly.
- Rinsing and Sealing: Once dipped, rinse the object gently under cool water to remove any leftover film residue. After it dries completely, spray it with a durable clear topcoat to lock in the design and protect it from scratches.
Simple Tips for a Professional Finish
If you are tackling this project yourself or working with a custom shop, keeping a few best practices in mind will ensure you get clean results every time:
- Start Small: Don’t try dipping a large headboard on your first attempt. Practice on smaller, flatter items like light switch covers or plastic toys to master your dipping angle and speed.
- Match the Base Color Carefully: Experiment with different base coat colors on scrap pieces. A white base coat makes neon colors pop, while a dark base coat gives galaxy patterns a deep, dramatic look.
- Get the Kids Involved: Let your child help pick out the patterns and base coat colors. Giving them a voice in the design process makes them feel proud of their new room and excited to keep it clean.
Creating a Space They’ll Love
Personalizing a child’s bedroom doesn’t have to require expensive contractor bills or buying brand-new furniture sets every couple of years. Hydrographics offers a versatile, creative outlet to transform plain, everyday objects into custom decor. By taking ordinary items and wrapping them in vibrant, custom patterns, you can build a fun and unique bedroom that reflects your child’s personality while keeping your budget intact.