
 Article Editor
A robot lawn mower setup becomes easier when you prepare the yard, choose the right charging station location, map the mowing area, and test the mower before regular use. Beginners often make setup harder by skipping simple checks, such as clearing obstacles or trimming tall grass first. A careful setup helps the mower move safely, cut evenly, and return to its dock without trouble. It also reduces stops, missed patches, and future adjustments. Use this guide to build a smooth first mowing routine from the start.

Prepare Your Lawn Before Installation
Clear Obstacles, Toys, Branches, and Loose Items
Remove anything that does not belong on the mowing area before setup. Pick up toys, small branches, stones, hoses, garden tools, pet items, and loose decorations. These objects can block the mower, damage blades, or cause unnecessary stops. Pay close attention to shaded areas under trees and corners near fences, where debris often collects. Clearing the lawn first also helps you see hidden dips, roots, or edging problems that may need attention before the mower starts working.
Cut the Grass Before the First Setup
Cut the lawn with a regular mower before the first robot mower setup, especially if the grass is tall or thick. Robot mowers work best when they trim small amounts often, not when they tackle overgrown grass in one pass. A shorter starting height helps the mower move more easily and cut more evenly. It also reduces grass clumping around the blades and undercarriage. After setup, adjust the cutting schedule so the mower maintains the lawn before it grows too high again.
Check Slopes, Narrow Paths, and Lawn Edges
Walk along slopes, tight passages, and lawn edges before installation. Steep areas need strong traction, while narrow paths need enough room for the mower to pass without scraping fences, beds, or walls. Look for rough transitions between grass, paving, and garden borders. Mark spots where the mower may need extra guidance or a no-go zone. These early checks help you decide where to place boundaries, how to divide zones, and which areas may need manual trimming.
Choose the Best Charging Station Location
Pick a Flat, Open, and Shaded Spot
Place the charging station on firm, level ground so the mower can line up and dock without slipping. Choose an open area with clear access to the lawn, not a cramped corner behind furniture or plants. Light shade can help protect the mower and battery from strong midday heat, but avoid spots where branches, leaves, or heavy debris fall often. A stable dock position gives the mower a reliable home base and supports better mowing routes.
Keep the Dock Near Outdoor Power
Set the dock close to a safe outdoor power outlet. Use only suitable outdoor-rated power equipment and follow the mower manufacturer’s installation instructions. Avoid running cables across walkways, driveways, or areas where children, pets, or tools may disturb them. The power connection should stay dry, secure, and easy to inspect. A nearby outlet keeps the setup cleaner and reduces the chance of loose cords interfering with mowing, docking, or regular yard activity.
Leave Enough Entry and Exit Space
Give the mower enough straight, clear space in front of the charging station. This helps it leave the dock smoothly and return without repeated alignment problems. Keep the area free from pots, edging stones, furniture, toys, and thick plants. Avoid placing the dock at the end of a tight path unless the mower is designed to handle narrow approaches. Good entry and exit space reduces docking errors and helps the mower begin each scheduled cut without interruption.
Set Up the Boundary and Mowing Area
Install Boundary Wire or Create a Virtual Border
Follow the correct setup method for your mower. Boundary-wire models need the wire placed around the lawn edge and fixed securely. Wire-free models use mapping tools to create a digital border. Sunseeker Elite robot mowers support wire-free setup with AONavi™ 2.0 and Network RTK + VSLAM 2.0, offering centimeter-level accuracy without buried wires or local antenna installation. Their virtual boundaries, advanced route planning, smart zoning, and multi-angle cutting help manage paths, trees, and divided lawn sections with less setup work.
Mark Flower Beds, Trees, Paths, and No-Go Zones
Mark every area the mower should avoid. This includes flower beds, young trees, ponds, gravel paths, exposed roots, play equipment, and fragile landscaping. Use no-go zones or boundary settings to protect these spaces before regular mowing begins. Do not rely on the mower to learn every hazard during operation. Clear marking improves safety, protects garden features, and creates cleaner mowing lines. It also helps the mower move with confidence instead of stopping repeatedly around confusing objects.
Add Guide Wires for Narrow or Complex Lawns
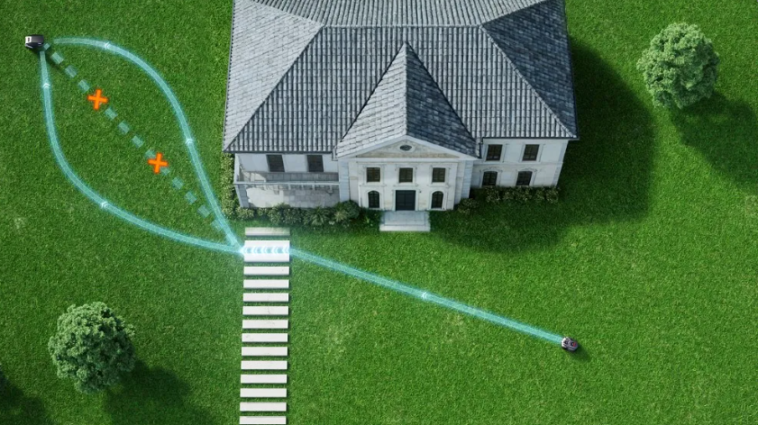
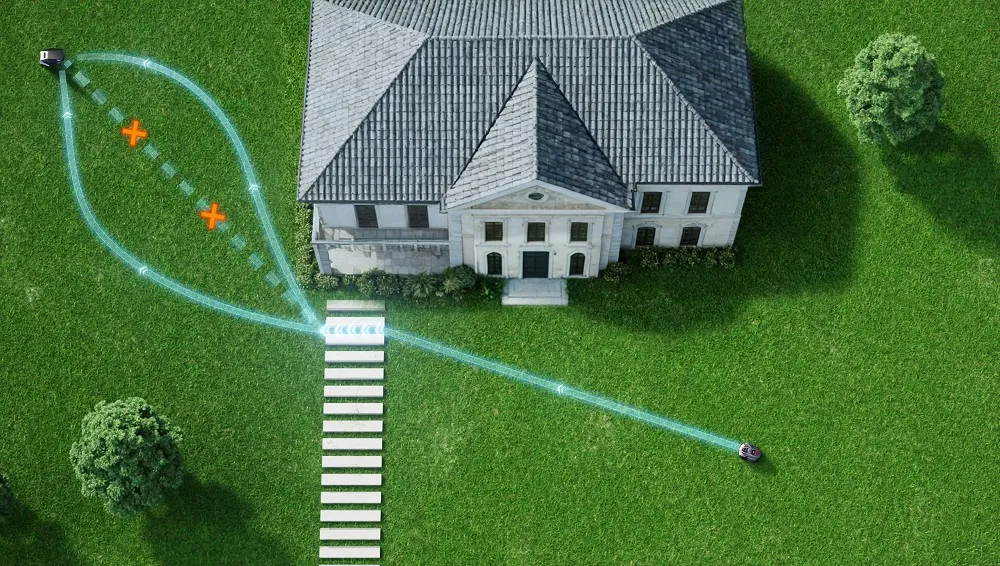
Some boundary-wire systems use guide wires to help the mower travel through narrow paths, reach separated zones, or return to the dock more reliably. Add them where the mower may struggle to find its way through side yards, corridors, or irregular lawn sections. Plan guide routes before securing the final wire layout. Keep them smooth and direct, with enough clearance around corners. Good guide placement reduces wasted movement and helps the mower cover complex lawns more consistently.
Connect the App, Adjust Settings, and Run a Test Mow
Pair the Mower With Wi-Fi or Bluetooth
Pair robot lawn mowers with Wi-Fi, Bluetooth, or the supported connection method listed in the manual. Keep your phone close to the mower during pairing and make sure the battery has enough charge. Name the mower, confirm the lawn map, and check that the app can send commands properly. A stable connection makes future adjustments easier. It also helps you receive alerts, change schedules, update settings, and track the mower’s status without walking outside each time.
Set Cutting Height, Schedule, and Zones
Set the cutting height based on grass type, season, and current lawn condition. Start slightly higher if the lawn is thick, newly grown, or uneven, then lower gradually if needed. Create a schedule that trims the lawn often enough to prevent overgrowth. For divided lawns, assign zones and mowing times that match each area’s growth rate and use. Avoid scheduling during heavy rain, watering, or busy play periods. Smart settings help the mower cut cleanly while protecting the lawn.
Watch the First Run and Fix Problem Areas
Stay nearby during the first test mow. Watch how the mower leaves the dock, follows borders, handles corners, avoids obstacles, and returns to charge. Look for missed strips, repeated stops, wheel slipping, or areas where the mower gets too close to landscaping. Pause the mower and adjust boundaries, zones, or object placement as needed. This first run gives you the best chance to correct small issues before they become daily frustrations. Test again after each major adjustment.
Conclusion
A successful robot lawn mower setup starts with a clean lawn, a smart dock location, clear boundaries, and careful app settings. Beginners should prepare the yard first, then map the mowing area with attention to slopes, edges, obstacles, and narrow spaces. The first test run matters because it reveals problems that are easy to fix early. Once the mower moves, cuts, and docks reliably, regular lawn care becomes simpler, quieter, and easier to manage through the season.