

YouTube content creation is a competitive market that requires high-quality, engaging videos that appeal to a wide range of audiences on various niches such as tutorials, vlogs, and so on. Being a self-media producer, it is necessary to stand out and to use effective tools that are easy to use and do not harm creativity levels. The desktop editor of CapCut is a tool that delivers a user-friendly interface enabling creators to polish videos, add character, and tailor them to entertain the audience. This article discusses the art of editing YouTube videos with simplified procedures that are customised to content requirements.
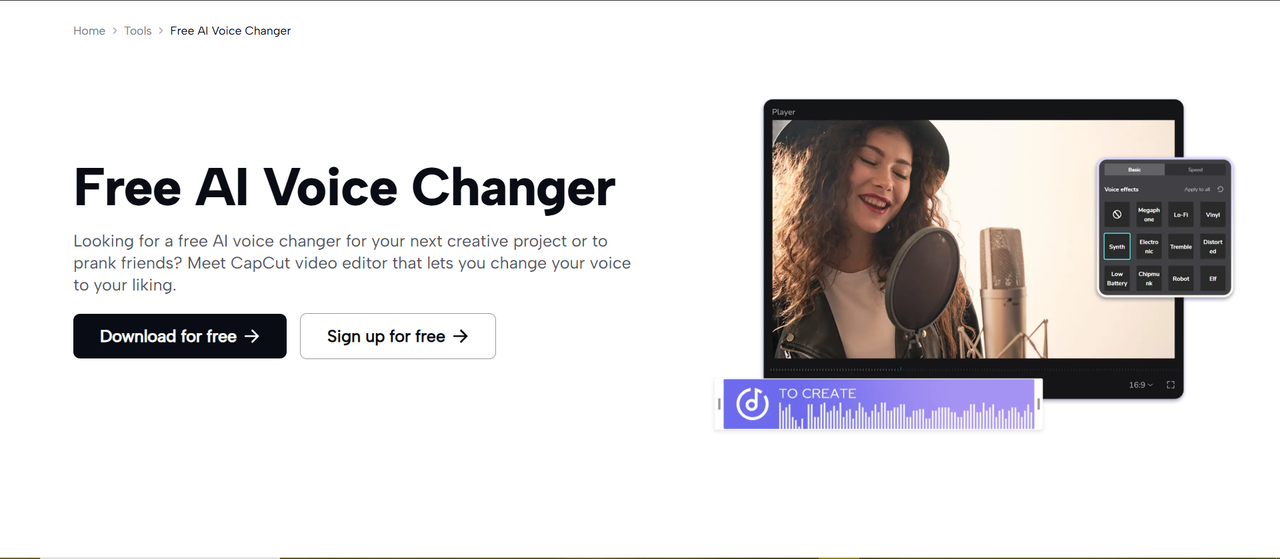
One of the most striking aspects that raises YouTube videos to a new level is the voice changer, which allows creators to change the voice narrations creatively, adding an echo to dramatise or boosting the bass to make a section exciting. Voiceovers can be livelier with the use of this tool, and it does not require additional hardware to make the videos stand out.
The tools, such as CapCut desktop, which YouTube is developing, have provided the creators with end-to-end production functionality, including the ability to import clips and post them, which promotes agility in a competitive digital environment.
Core Benefits for Social Media Creators with CapCut Desktop
The improvement of Viewer Engagement by means of Audio Personalisation
CapCut also allows creators the option to set the voice tones to video by allowing them to make the tones sound more lifelike. This personalization aligns audio to content goals, e.g., deeper tones to narrate stories or a higher pitch to engage the audience, which increases the number of watches and subscribers.
Enabling Fast Content Turnaround to ensure Consistent Uploads
Efficiency is essential in the fast-paced YouTube ecosystem. The simple interface of CapCut allows rapid assembly and audio adjustments, which enable creators to create high-quality videos in the shortest time, keeping up with the trends and keeping the upload schedule.
Key Reasons AI Increases YouTube Video Editing
Streamline the Processes with Snazzy Features.
AI is used to democratise sophisticated editing, which allows creators to work on ideas, rather than mechanics. The video editing software provides accurate timelines and superimposition that help to create videos that are coherent and well-layered in a YouTube video.
Tailoring Videos for Audience Preferences
The AI of CapCut allows adapting the content to particular viewer groups, such as tutorials or entertainment, optimising the sound and visuals to resonate better, enhancing the work of algorithms and viewer retention.
Step-by-Step Guide to Editing YouTube Videos with CapCut Desktop
It is easy to edit a YouTube video with CapCut desktop. Use the following steps to prepare powerful content to upload. In every step, there are simulated screenshot notes, which are interface overviews with marked areas.
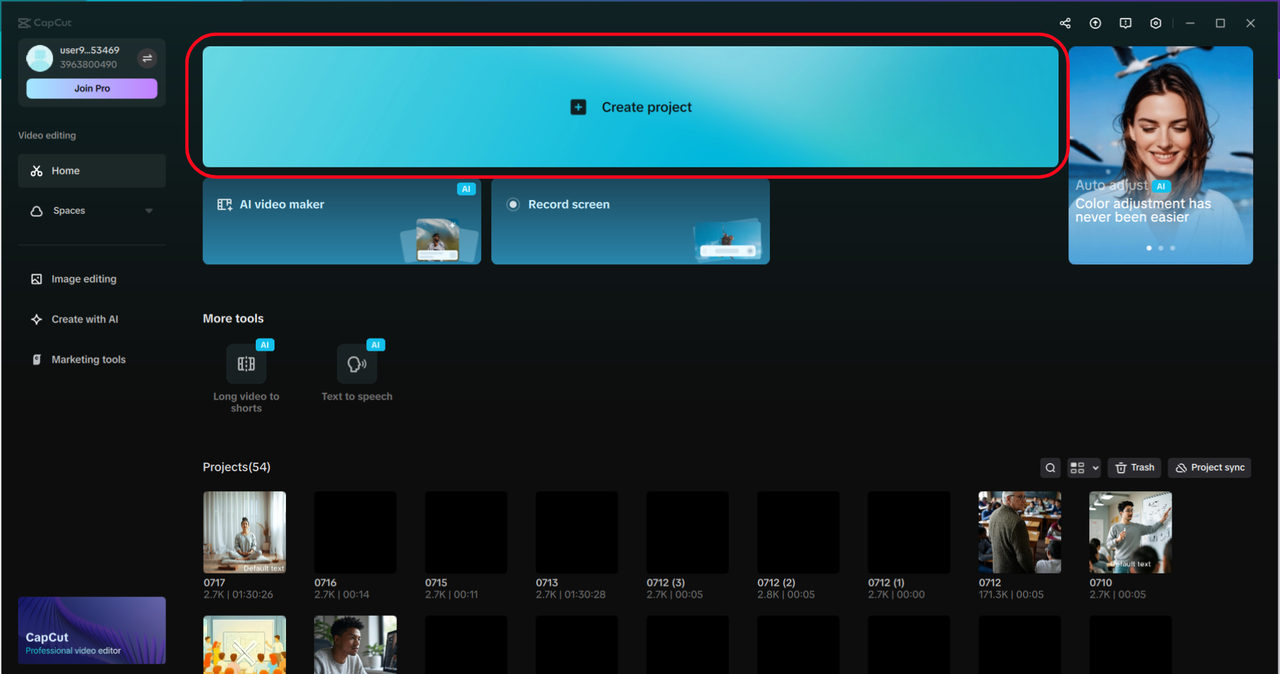
Step 1: Install CapCut and Start a New Project
Get CapCut Desktop Video Editor on the official site. First, open the software and tap the button “Create Project” to have a blank canvas on which to create your YouTube video. The accessibility of the product is relatively easy due to the simple design.
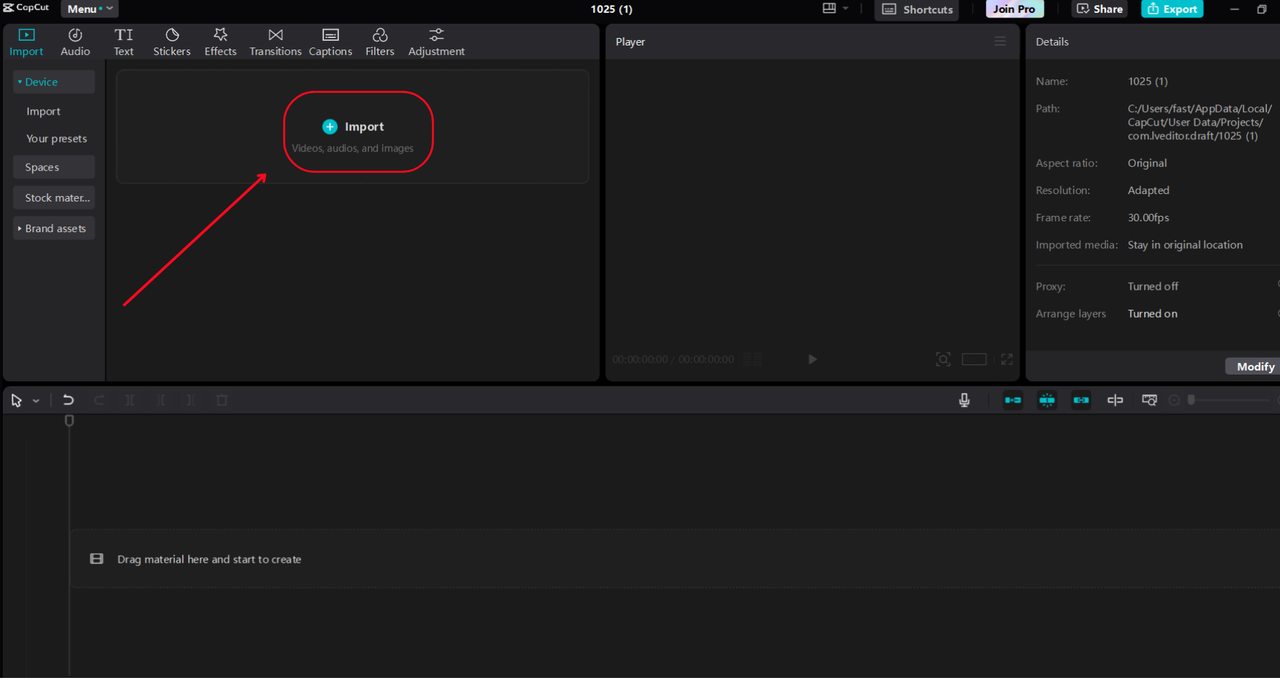
Step 2: Import Your Media
Add video clips, images, and audio files by using “Import” in the media panel. Drag them onto the timeline in your desired sequence. CapCut enables overlaying of footage, music, and graphics on multiple tracks.
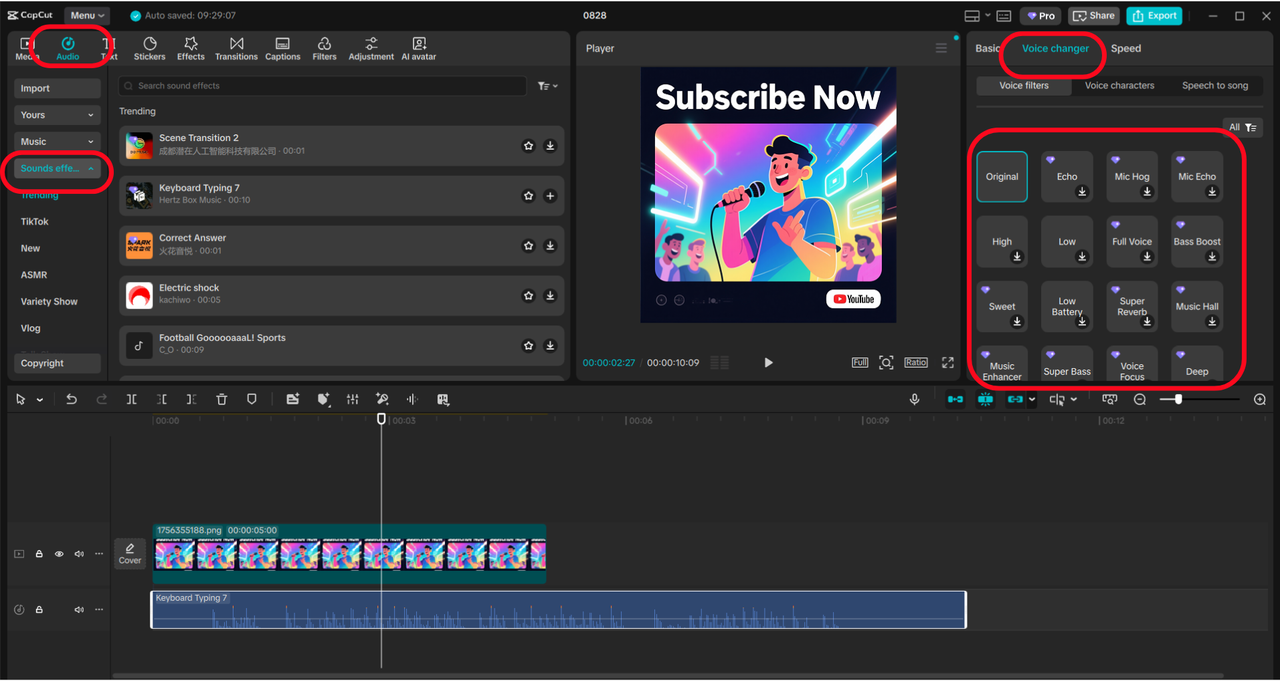
Step 3: Apply and Customise with the Voice Changer
CapCut Desktop comes with a built-in Voice Changer to make your professional youtube video narration more exciting. After either recording or importing your audio, you can drag the audio into the audio track of the timeline. At the top of the interface, select the “Audio”, and in the left-hand menu, select “Sound effects” and select any sound on the trending list.
Then you may select the audio clip and view its settings in the right-hand panel. You have to press the “Voice changer”. The voice changer section has several presets, which are Echo, Mic Echo, High, Low, Full Voice, Bass Boost, and Music Enhancer, among others. Tap either of these to listen to how you sound in narration.
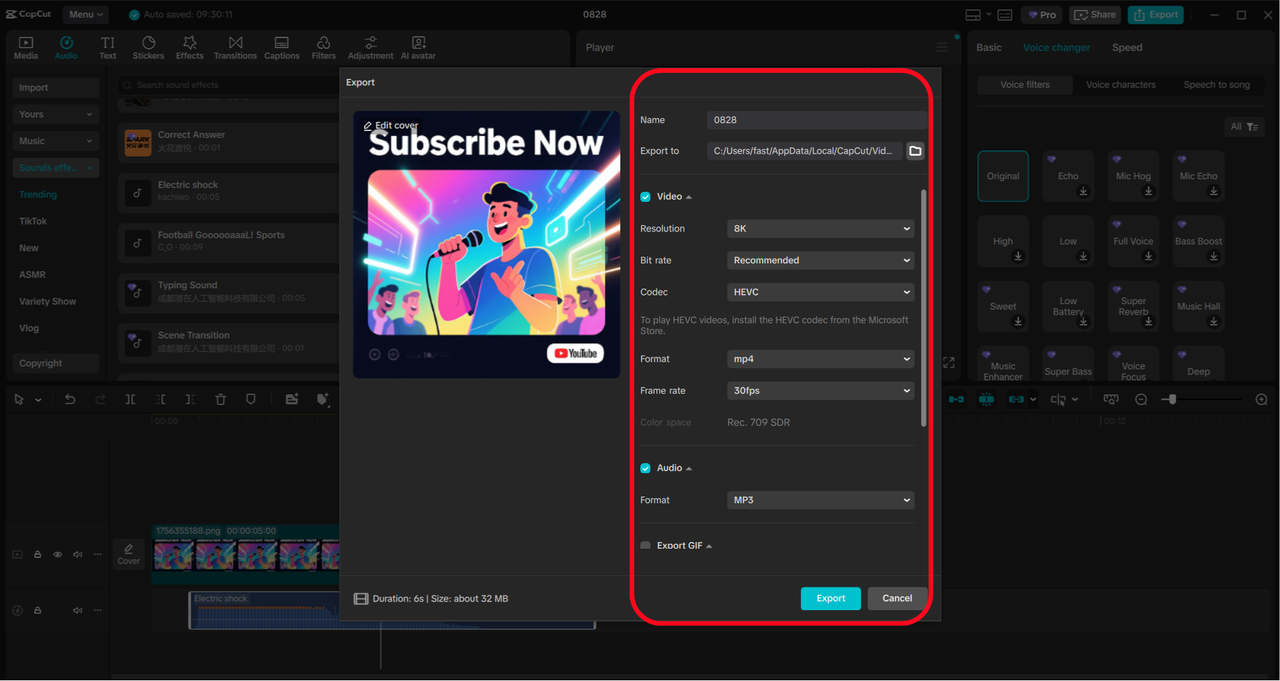
Step 4: Export Your Final YouTube Video
After having made edits, click where “Export” is written in the upper right-hand corner, choose resolution, format, and destination. CapCut gives top-quality outputs that can be uploaded to YouTube and optimised to be viewed on mobile and desktop platforms.
Supplementary Materials to take your YouTube Videos to the Next Level.
Though core editing is the work of CapCut desktop, advanced visual improvement increases the impact. CapCut’s online photo editor optimises thumbnails, overlays, and images with AI-based modifications such as colour enhancement and background removal. Make edits in the photo editor, and bring them into CapCut to add in-built, professional YouTube thumbnails and graphics.
Notable Capabilities of CapCut Desktop for YouTube Creation
CapCut desktop excels in self-media production with voice modulation presets for instant audio transformations, ideal for diverse video styles. It provides infinite tracks to be built in detail, subordinates to integrate photos, cloud-combinations to collaborate, and simple effects such as fades. These capabilities are best suited to education or business, but are bright in the dynamic content requirements of YouTube.
Conclusion
The ability to work with the CapCut desktop to edit YouTube videos will enable the self-media creators to transform the idea into engaging content that will spur views and growth. It makes professional results simple as it emphasises the customisation of audio and efficient workflows. Today, start using CapCut to improve the appeal of your channel.